Wednesday, May 18, 2011
First-checkpoint for Assignment

Tuesday, May 17, 2011
Week 4: Reflections
- Does multi-tasking give you a real or false sense of having accomplished something?
- Is learning 3D and design different from learning programming, or is all learning the same?Why?
- The article states that “Learning is actually a very complex operation for an individual”. Do you agree with this? Do you feel that you approach your learning in the best way – if yes, how, and if no, how can you change your work style?
Having mentioned above MY personal view on learning, I agree that learning differentiates among individuals.
I feel that I am not approaching my learning in the best way possible as I dislike using "controlled attention" to learn. I have entered the wrong course (should have gone to Game Design in NYP) and hence I have to learn programming which I dislike. However, since I HAVE to learn my course modules, I have to find a way for me to get enthusiastic about the subjects I do not really like so that I can learn with a "Stimulus-driven attention".
- What are your thoughts about the last paragraph in the extract?
I believe that the last paragraph in the extract is absolutely true. To thrive in the working industry, one has to have talents and personality in order to work with their co-workers and a good relationship is needed for a healthy and successfully career.
- Should your lecturers also focus on your work attitude, or just leave you to sink or swim on your own? Why?
The way this question is structured makes the answer quite obvious. Lecturers should definitely try and focus on our work attitude it they have the time to. The students work attitude and motivation determines their results and everyone wants to get good grades.
Monday, May 16, 2011
Week 3: Lab 2 (Tracks & Washboards)
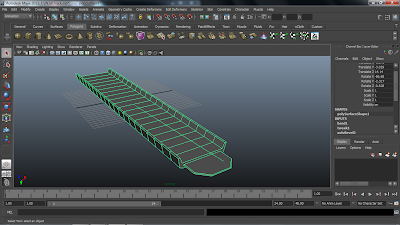 After using the "Extrude" function at the cardboard box exercise, I was amazed that the "Extrude" function can be separated to divisions. In this case, the divisions makes the track looks like it is formed and connectable with other pieces of the track.
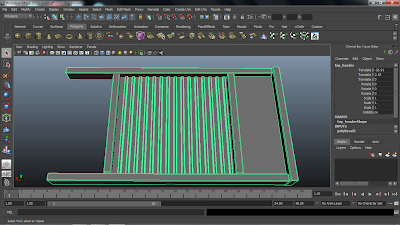
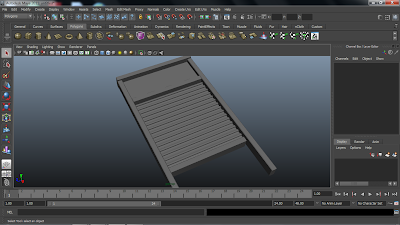
This washing board was particular frustrating to make as I did not know how to use the alignment tool and it took me quite some time before I realized how to use it. However, asides from that, I did not have other problems with the other instructions given.
Week 3: Lab 1 - Part 2
Week 3: Lab 1 - Part 1
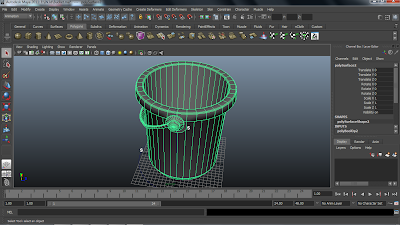
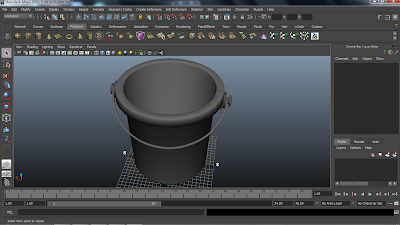
This exercise is much more difficult compared to the usual exercises and it teaches me many new skills by itself. The "Revolve" tool is very useful when making objects with a circular base and it reduces the user's workload.
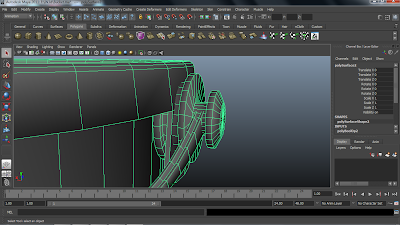
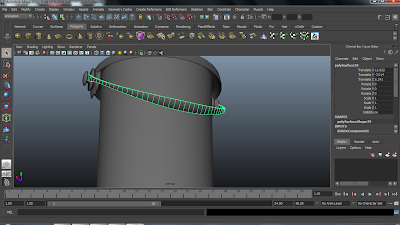 This bucket required more precise work such as creating the bucket handle and the knob. The curve used to create the handle had to be in place with the knob and the soft modification tool only made it.
 Saturday, May 7, 2011
Week 2-Lab 2- Part 3


I have only achieved completing the boxes after two attempts, where my first attempt fail when not understanding the instructions posted online.
Thursday, May 5, 2011
Week 2 Exercise 1
Wednesday, May 4, 2011
Week 1 Exercise 3a
Week 1 Exercise 3b
Angle 1:

Angle 2:
This is my companion robot "IMP" which stands for IMPossible. It has two wings and is able to breath polygons out of it's mouth. Wherever I am, the IMP will make sure that I am safe from bird dropping by circling above me. The "IMP" is extremely reliable with it's unlimited battery life Kryptonite*. It makes sure that I am spending my time doing something useful by constantly dismantling itself and unpacking my bag for no reason.
The "IMP" is currently for sale at the discounted price of $313 @Somerset.
Tuesday, May 3, 2011
Week 1 Exercise 2
 This is a drawing of one of the robot image given for this exercise. In my drawing, I have shown some primitive shape by seperating them from the original picture.
 Monday, May 2, 2011
Week 1 Exercise 1

This drawing is a drawing of the Lander Ship image. The description of the parts are difficult to read and will be explained here.
At the bottom left hand corner of the image is a drawing of the Lander Ship without it's wings from it's front view. In this view, we can see that the body of the ship is an Octogon. The line cutting through the middle of the octogon is the sharp edge at the head of the ship.
The drawing at the bottom right hand corner of the picture is the ship's turbine drawn to show it's three different primitive shapes.
Gundam Gun

This is a drawing of the Gundam Gun image. I have seperated a few of it's components to show the primitive shape used to create that part of the gun.
First is a cylinder used as a nozzle to connect the tip of the gun with the barrel of the gun.
Then there is the half cone supposedly used for the laser pointer of the gun.
The main frame of the gun is an elongated hexagon with the top of it stretched upwards.
And finally the scope of the gun, with is made by combining a cylinder for the top, a 3/4 cone for it's base and a 1/4 bottom half of the cone for the tip.


